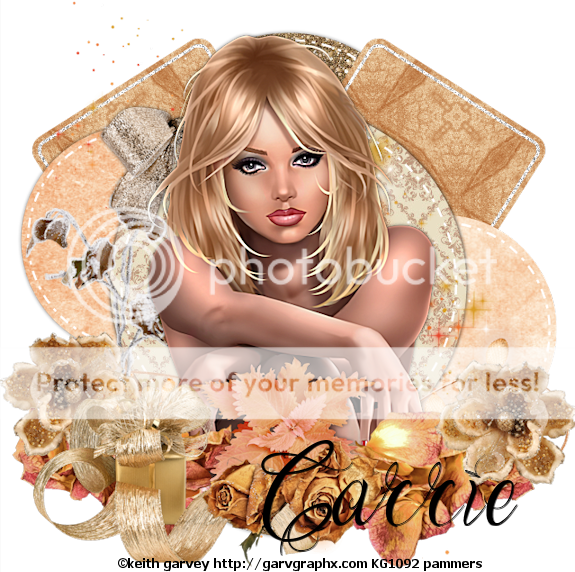
Thursday, December 29, 2016
New Year - exclusive
Kit - Elegant New Year by Tika TTL HERE
Template by Denz - #204 HERE
Tube - Ismael Rac....use only with proper copyright ...he is HERE
~~~~~~~~~~~~~~~~~~~~~~~~~~~~~~~
Open template, delete copyright layer
PP6 - send to bottom apply mask of choice/merge group
Sm circle 1 & 2 - pp4
Black Oval - pp3
Blue semi circle - pp5
Blue rectangle - pp1
Pink rectangle - pp6
Small blue strip - pp4
Starbunch
Stargarland - resize 50%
Sparkle2 - Image/free rotate/ right by 90 degrees
Sparkle1 - resize 75%
Open the star and place your tube in it...erase any you want...resize to fit on tag
Use a fancy font and write your words
I used Inspiration but is a PTU font
Merge visible/crop/resize as needed and add proper copyright
Sunday, December 25, 2016
Pink Winter - Exclusive to TTL
Scrapkit - by Tika "Iced Pink Winter" - TTL Exclusive kit HERE
Mask - Your choice
Tube - PUT at CDO
Effect - VanDerLee-snowflake HERE (I used the http download)
~~~~~~~~~~~~~~~~~~~~~~~~~~~~~~~~~~~~~~~~~~
Open pp1 and apply mask of choice/merge group
Add new raster with white/send to bottom
Frame1 - resize80%
Winterbling1 - resize 80%
Flower1 - resize 15% - paste onto image
Effects/mura meister/copies/encircle/change top 3 to 12, 75, 75
Pinkgarland - resize 60%
Bow1 - resize 35%
Leaves - resize 65%
Florish2
Sparkles1
bearsledding - resize 40%
Place your tube
Crop and resize/add proper copyright
Click back on your winter bling layer
Effects/vanderlee/snowflakes/amount is 100/maximum size is 10/random seed at 0/ok
Right click/copy merged
In AS click/paste as new animation
*back on your bling layer in psp/undo
Effects/vdlsnowflakes/change random seed to 50
Right click/copy merged
right click on image in as and PASTE AFTER CURRENT FRAME
back on your bling layer in psp/undo*
Repeat from * to * as many times as you want (I did mine 4 times) increasing the random seed by 50 each time
Once you are done, you can slow down the snow fall by:
Edit/select all then click on animation/frame properties and change the number to whatever you want (mine is at 25)
enjoy
~~~~~~~~~~~~~
Saturday, December 24, 2016
Exclusive to TTL - Christmas Candy
Scrapkit - Merry Christmas by Jen Exclusive to TTL HERE
Template - #135 from Horseplays Pasture HERE
Mask - #66 by Roses Black HERE
Word Art - HERE
Tube - Cano - Exclusive to The Taggers Lounge HERE
~~~~~~~~~~~~~~~~~~~~~~~~~~~~~~~~~~~~~~~~~~~~~~~~~~~~~~~~~
Open template, delete copyright layer and white background
DS of your choice as you go along
Image/Canvas size/700x700
PP4 - apply mask/merge group
Rect1 - pp2
Rect2 - pp7
Rect3 - pp6
Merge the 3 slats together
Make a gradient with 2 colors of choice/linear/angel is 0/repeats 6
Flood fill your slats and add noise of choice
Staying here, selections/all/float/modify by 2/new raster layer/flood fill with dark color/select none and move below the slats layer
Rect4 - I used ele44 in place of a pp
Paste ele31 and place a little to the left/image/flip - readjust/duplicate/image/mirror and repeat for bottom
Bring your mask layer up
Place tube
Ele30
Ele10
Word art - resize 75%
Ele14 - resize 75%
Merge all visible/crop/resize/add proper copyright
Saturday, December 17, 2016
Jingle Bells Blogtrain with The Taggers Lounge
Welcome to the Taggers Lounge Blog Train!
"Jingle Bells"
Please visit the stops to pick up the goodies awaiting and
don't forget to leave some love ♥
If you enjoy tagging and making new friends please stop by the forum
and join us today! http://thetaggerslounge.forumotion.com/
*Remember all items may not be available at the same time*
http://thetaggerslounge.blogspot.com HEADQUARTERS
http://jenssweettemptations.blogspot.com
http://tagsbytika.blogspot.com
http://myzticdesignzz.blogspot.com
http://pamzygreene.blogspot.com/
http://rhondasrockindesignz.com
http://mytaggingaddiction.blogspot.com
http://anorie.blogspot.de
~~~~~~~~~~~~~~~~~~~~~~~
Here is my contribution
Friday, December 2, 2016
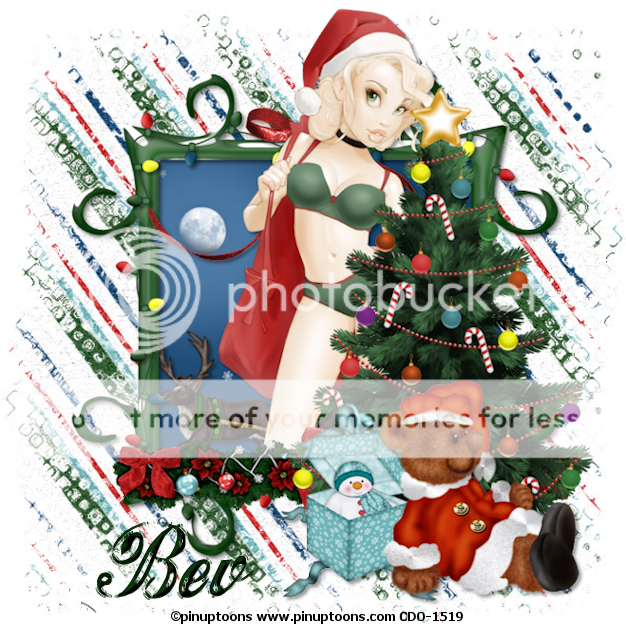
Wonderland - FTU
Kit - Its a Wonderland by HPD HERE (5th one down) Please remember to leave a thank you when downloading
Mask - your choice
Tube - Bonus PUT from CDO HERE Please use proper copyright
~~~~~~~~~~~~~~~~~~~~~~~~~~~~~~
DS of your choice as you go along
Open new image 700x700
Paste pp4 and apply mask/merge group
Ele28 - resize 80%
Ele11 - resize 60%
Ele60 - position
PP17 - resize 60% and place below frame/grab your magic wand and click inside the frame/selections/expand by 6/invert/click on pp layer and delete
Ele34 - resize 60%
Ele31 - resize 80% and place on bottom of frame
Ele43 - resize 80% and place to right
I placed my tube so she is peeking out from behind the tree
Ele39 - resize 60%
Ele37 - resize 60% - place bear leaning against ele39
Merge all layers visible/crop/resize as needed/add proper copyright
Friday, November 25, 2016
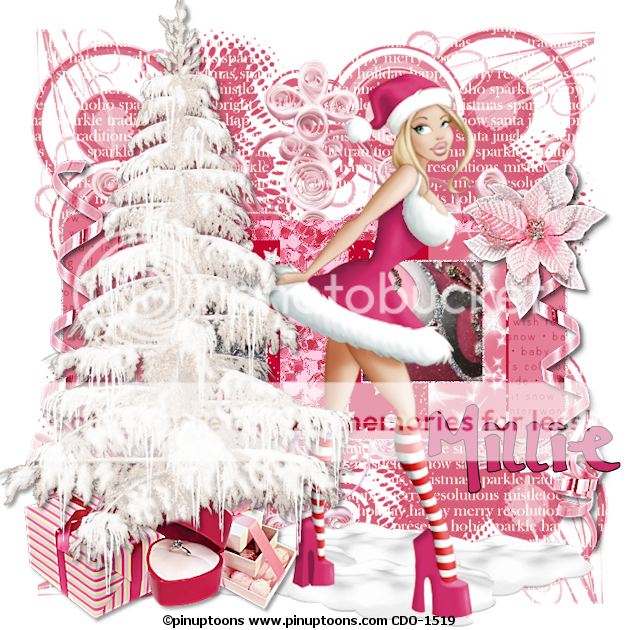
Winter _FTU
Scrap Kit - Candy's Winter HERE
Template by Millie - HERE
Mask #6 - HERE (6th one down)
Tube - PUT from CDO
~~~~~~~~~~~~~~~~~~~~~~~~~~~~~~~~~~~~~
Open mask, delete copyright layer, background layer and Canvas size 700x700
As always I start at the bottom and work up
PP15 - apply mask/merge group and send to bottom
Ele37
PP11 - resize 66%, merge 1 & 2 and paste paper
Selection/all/float/modify - expand by 2/new layer/flood fill with color of choice/select none and pull below pp11
Layer3 - pp14
Layer4 - pp10
Merge layer 5 & 6, pp5
Merge 7 & 8 - pp14
Merge 9 & 10 - use element 34 in place of pp
On this layer, do the same as you did for pp11
Ele46 - resize by 50% and place at bottom
Add tube
Ele71 - resize 50% - duplicate/mirror
Ele67 - resize 75% -erase the base as the presents will cover it
Ele49 - resize 25%
Ele30 - resize 25%
Ele23 - resize 35%
Merge all visible/crop/resize as needed/add proper copyright
Friday, October 28, 2016
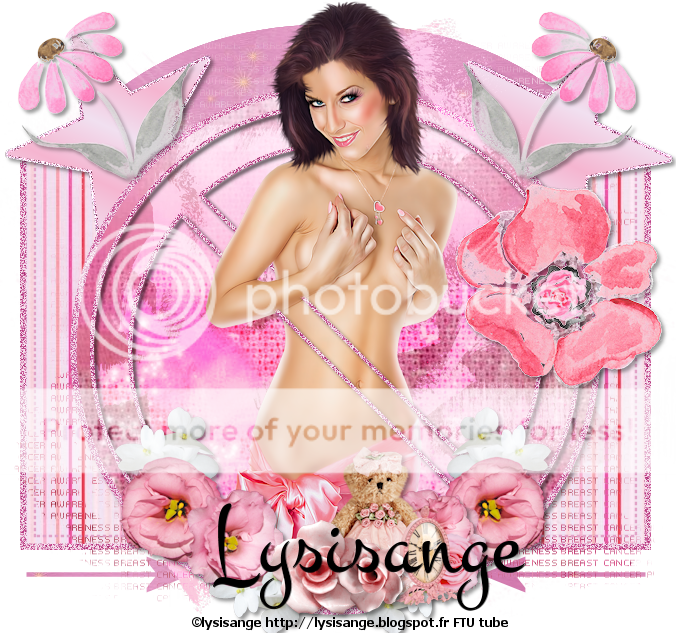
BCA - FTU
BCA Kit - HERE (Grab it quick)
Template - HERE
Mask - by Bam Bangers - HERE (using mask1)
Tube - HERE by Lysisange...it is a freebie...make sure to use the url in the download strictly for this tube
~~~~~~~~~~~~~~~~~~~~~~~~~~~~~~~~~~~~~~~~~~~~~
Open template
Delete word art and copyright layer
Starting at bottom adding a ds of your choice as you go:
Shape - p7
Arrows - -merge together and flood fill your choice
Glitter rect - adjust/hue saturation/colorize I used H231 and S134
Rect - p6
Paste p2 and apply mask/merge group
Dotted rect - same hue and sat
Make a gradient with 2 colors of choice - linear, angle 25, repeats 8
4 star layers - merge together and fill with gradient - stay on this layer
Selections/select all/float/modify by 3 - new layer - flood fill with a dark color and drag below the star layer - apply some noise
Glitter circle, no shape - same hue and sat as before
Black circle - p2
Ele22 - layer properties to overlay
Place your tube as you want - for mine, I duplicated the no shape and dragged the dup above tube abd erased off her face and arm
Ele18 - resize 35% - duplicate/mirror
Ele24 - resize 25%
Ele25 - 18%
Ele17 - resize 30%
Ele10 - resize 40%
Ele2 - resize 40% position and erase a bit of the stem, duplicate, mirror
E9 - resize 10%
hide the white layer
Crop/merge visible/resize as needed/add proper url and you are done
Thursday, October 20, 2016
TTL Exclusive "Hocus Pocus"
Scrapkit - exclusive to the TTL "Hocus Pocus HERE
Template - HERE let's use template #5
Tube - Elias ...you can get this tube HERE
~~~~~~~~~~~~~~~~~~~~~~~~~~~~~~~
Add d/s of your choice as you go
Open template and delete copyright and word art layers. Starting at bottom:
Paste close-up of your tube
Effects-Mura Meister/copies/wall paper rotate at default...hide for now
Purple circles - pp1
Blue circles - pp6
Adjust/add-remove noise-gaussian at 25
Purple elipse - pp3
Black elipse - flood fill with color from tube
Add noise again to this layer
Now, open the wallpaper layer
Adjust/blur/motion blur angle 250, strength 100...apply this 3 times
Effects - Edge effects/enhance more
Ele4 - paste onto layer and merge down
Drag this layer to right above blue elipse layer- use this as the paper
Blue rounded rectangle - flood fill with same color used before and add same noise effect
Purple lines - pp2
On all 4 tiny squares...use ele34 as the paper and delete the little squares
Paste your tube
Effects/Xero/Radiance 18, 50, 128, 228
Ele8 - resize 40%
Ele1 - resize 40%
Ele3
Ele11 - drag down/duplicate/image/mirror
Ele32..use your eraser tool and erase some of the stem..paste onto canvas/duplicate/image/mirror and place under tubes feet
Hide white background layer if you choose/merge all visible/resize/make sure to add proper copyright
Friday, October 14, 2016
The Taggers Lounge "Something Frightful" Blog Train
I actually joined a blog train :) Below are the word arts I contributed..
More fun can be had at The Taggers Lounge
Be sure to stop along the ride to collect your goodies!
Also please leave some love!!
These are PSD format so you can place as you like....and have fun!!!

More fun can be had at The Taggers Lounge
Be sure to stop along the ride to collect your goodies!
Also please leave some love!!
http://thetaggerslounge.blogspot.com/ Stop 1
http://tagsbytika.blogspot.com Stop 2
http://jenssweettemptations.blogspot.com Stop 3
http://anorie.blogspot.de/ Stop 4
http://mytaggingaddiction.blogspot.com/ Stop 5
http://myzticdesignzz.blogspot.com/ Stop 6
http://rhondasrockindesignz.blogspot.com/ Stop 7
http://tagsbytika.blogspot.com Stop 2
http://jenssweettemptations.blogspot.com Stop 3
http://anorie.blogspot.de/ Stop 4
http://mytaggingaddiction.blogspot.com/ Stop 5
http://myzticdesignzz.blogspot.com/ Stop 6
http://rhondasrockindesignz.blogspot.com/ Stop 7
http://www.pamzygreene.blogspot.com/ you are here
Some of the ladies are in different time zones....all links should be working tomorrow
These are PSD format so you can place as you like....and have fun!!!

Thursday, August 18, 2016
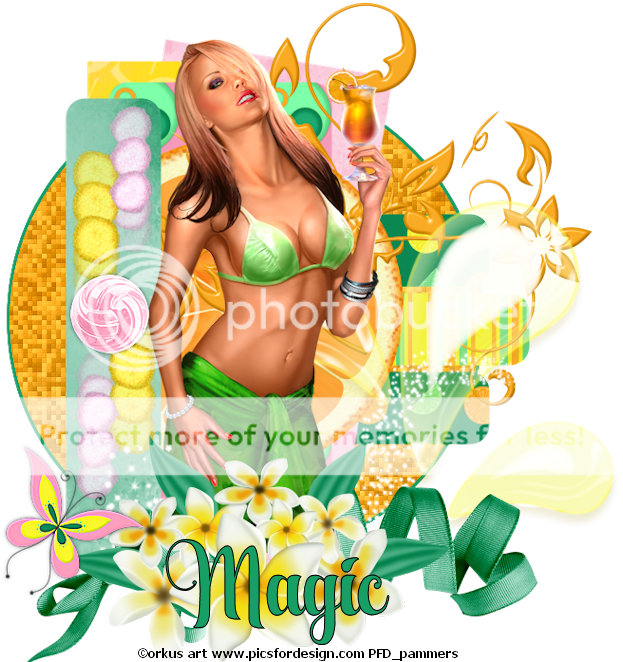
Bright - FTU Exclusive at TTL
Scrapkit by Majik - HERE
Template by Millie - HERE
Tube - Orkus Art from PFD HERE Do not use without proper copyright
~~~~~~~~~~~~~~~~~~~~~~~~~~~~~~~~~~~
Open template and delete copyright and word art layers
Layer 1 - p1
Effects - Xero/fritillary/change variation to 39
Selections/all/float/modify - expand by 3/new raster layer/flood fill with green/select none and move under layer 1
Layer 2 - p11
Layer 3 & 4 - p10
Layer 5 & 6 - p3
Layer 7 - p2
Layer 8 - p8
Place citrus slice on layer 9 then delete layer 9
Doodle
Layer 10 - p5
Grab pom pom...erase stems and resize 30%
Position top of layer 10 - effects/mura meister/copies/after image(h-random)
Image/free rotate/left90 - place at top again/duplicate/image/mirror/image/flip position
Button - resize 40%
Juice splash - position
Place tube
Sparkles
Ribbon
flowers
Butterfly1 - resize 40%
Merge visible/crop/resize/add proper copyright
Friday, July 29, 2016
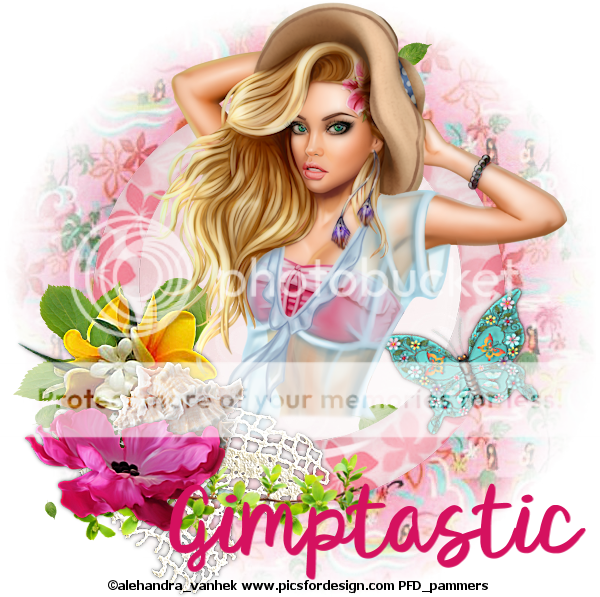
Hibiscus _ FTU
Scrapkit - Hibiscus by Amy and Leah HERE
Tube - Alehandra Vanhek with PFD - HERE
~~~~~~~~~~~~~~~~~~~~~~~~~~~~~~~~~~~~~~~~~~~~~~~~~
Open paper5 - apply mask of choice and merge group
Frame5 - resize 90% and place on image
Grab your freehand selection - set to freehand and draw around the frame/invert/pp7/delete/select none and drag below frame layer
Leaves
Leaf1 - position
Branch - position
Net - resize 80% and position
Flower1 - position
Flower2 - position
Shell2 - resize 75% and position
Butterfly - position/free rotate/right/20
Position tube of choice/crop/resize if needed and add proper copyright
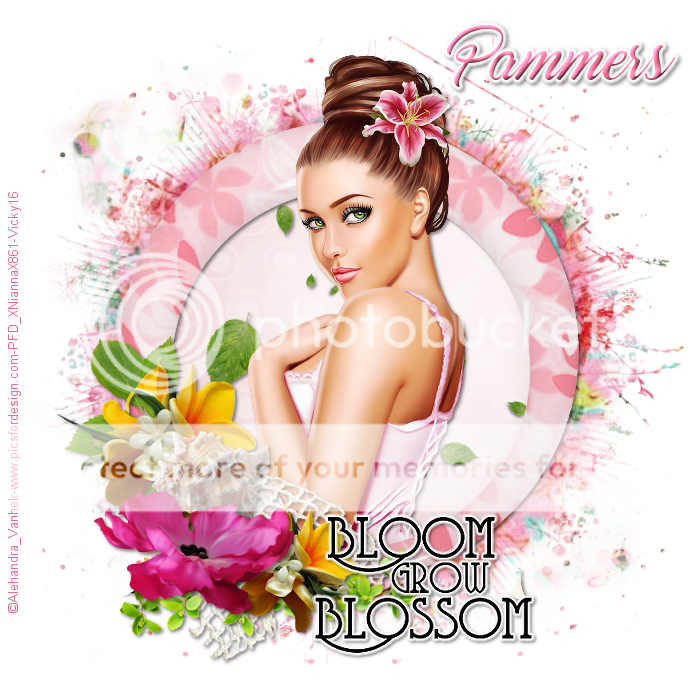
This tag was made by Vicky over at Artistic Tag Passions...thank you again, Vicky, for trying my tut :)
Thursday, July 21, 2016
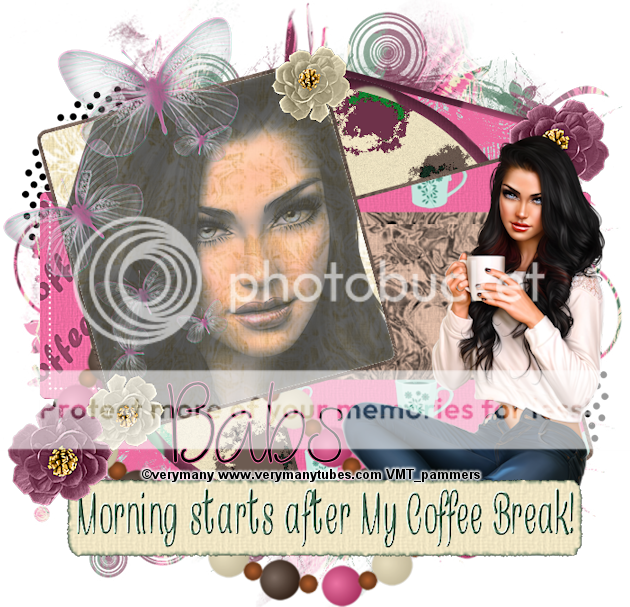
Coffee Time - FTU
Scrapkit by Babs of Bitzy Beez Designz - HERE
Template by Dee - HERE
Tube - VeryMany HERE Do not use without proper copyright
~~~~~~~~~~~~~~~~~~~~~~~~~~~~~~~~~~~~~~~~
Open template, delete copyright, white background and the 3 frame layers - also word art
~~I always work from the bottom up
Paper 18 - resize by 95%- apply mask of choice - merge group
Paste as bottom layer
Merge left & right square together - pp13
Effects/3d/inner bevel/white/default
Merge pink squares together - pp23
Black rect - pp8
White circle - pp13 use same inner bevel
Black circle - pp12
Right blue rect - pp17
Right white rec - pp1
Blue strip - pp22
Left blue rect - pp17
Left white rec - pp8
Close up - position as mine
Staying on close up - Effects/xero/nostalgia/default then apply xero again using porcelain moving slider to the left
Layer properties/multiply/opacity 70
Place your main tube and position
Label 5
Doodle 7 - resize 80%
Butterflies 1&2 - I added them together - you do as you want - resize 70%
Place and adjust/sharpness/sharpen more
Necklace1 - resize 75%
Flower 12 - resize 30% - duplicate/image/mirror/flip - use sharpen more on both flowers
Flower 9 - resize 15% - same as flower 12
Merge all visible/resize/crop/add proper copyright
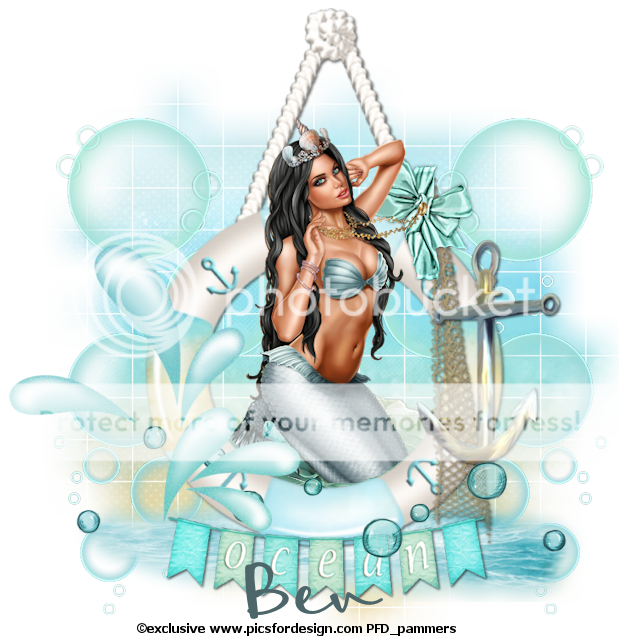
Sea - FTU
Scrapkit by Horseplay - HERE
Cluster - HERE (I used the last one made by Louise)
Mask - your choice
Tube - Blue Ocean Exclusive at PFD HERE
~~~~~~~~~~~~~~~~~~~~~~~~~~~~~~~~~~~~~~~~~~~
Open your cluster and erase copyright
Image/canvas size 800x800 (I like a big canvas to work with when using clusters)
Paste pp6 and drag behind cluster and apply mask/merge mask group
Move mask layer down a little to make more center of cluster
Ele72 - place at bottom of cluster
Ele65 - duplicate 2x's and merge together and past behind right side of cluster
Image/duplicate/mirror
Merge these 2 layers together
Adjust/sharpness/sharpen more
Ele16 - position as shown
Ele44 - resize 50% and position as shown
Ele28 - position behind the cluster
Crop your tag so we can add our tube
If using the same tube as me, I resized mine by 40%
Place as you desire
Merge all visible
Resize, add proper copyright and you're done
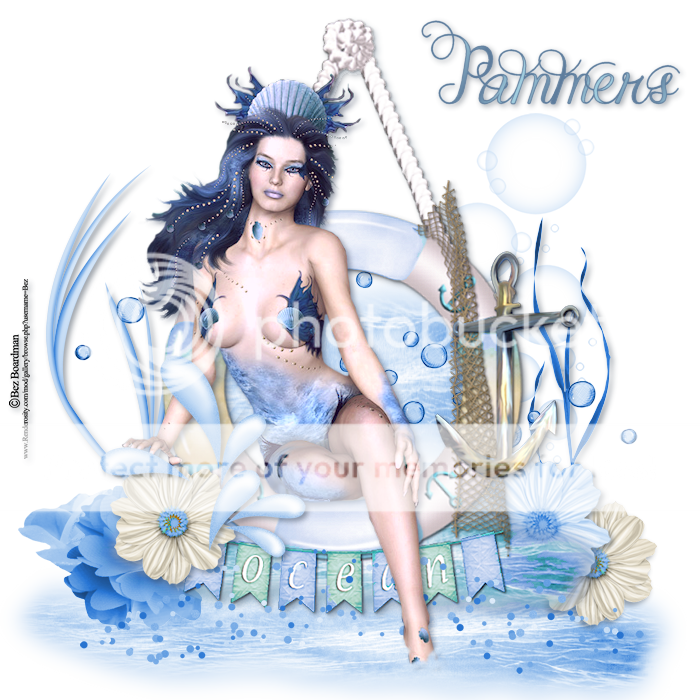
These tags were done by friends at Artistic Tag Passions
I totally love the different takes on this tutorial
Saturday, July 16, 2016
Cluster - FTU
I made a cluster with Melissa's Kit - Country Summer. You can grab this over at The Taggers Lounge blog HERE
Thursday, July 14, 2016
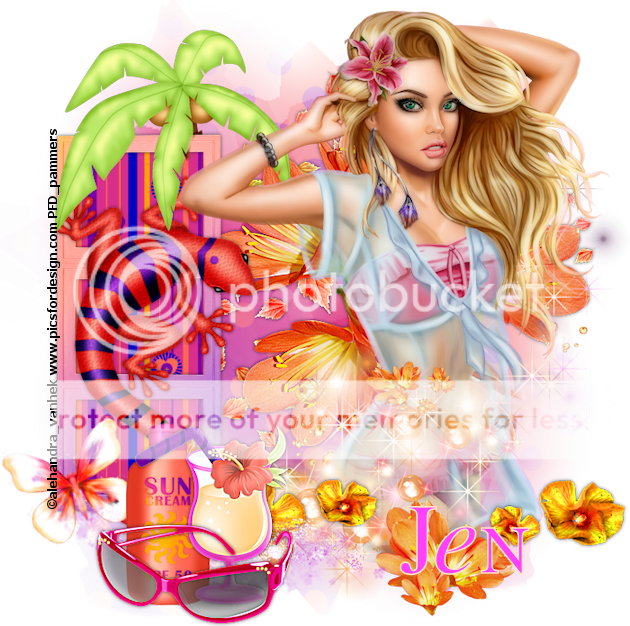
PTU Sunset Blvd
~~~~~~~~~~~~~~~~~~~~~~~~~~~~~~~~~~~~~~~~~
Mask - Your choice
Tube - "Dolly" Alehandra Vanhek at PFD HERE
~~~~~~~~~~~~~~~~~~~~~~~~~~
"Add drop shadow as you go"
New image 700x700
Paste pp1 and apply mask...merge group
Frame1 - rotate this 90 to the left
Grab your magic wand - add/none and click inside each frame/expand by 2/pp6/selections invert/delete and drag below the frame layer
Add a ds of your choice to frame and merge down
Grab the Geko and place on frame
Palm Tree - erase as needed
Sparkle - top right-ish
Tube - resize and place (I resized mine 47%)
Petals - position top right- drag to mask layer
Flower2 - position middle of mask layer
Flower3 - paste and drag a little to the bottom left
Flower1 - poisition
Decore - place as desired
Bubbles - position/image/free rotate left 90
Flourish - position as you like
Sun cream - resize 45%
Bahama mama - resize 45%
Bfly3 - resize 30% - position on frame/rotate to the left a little bit
Sunglasses - resize 50%
Merge visible/crop/resize/add proper copyright
Back
I am back and hopefully will be getting more tutorials written. Enjoy and as always, you can send me your work of my tutorial and I will proudly display it :)
Tuesday, April 5, 2016
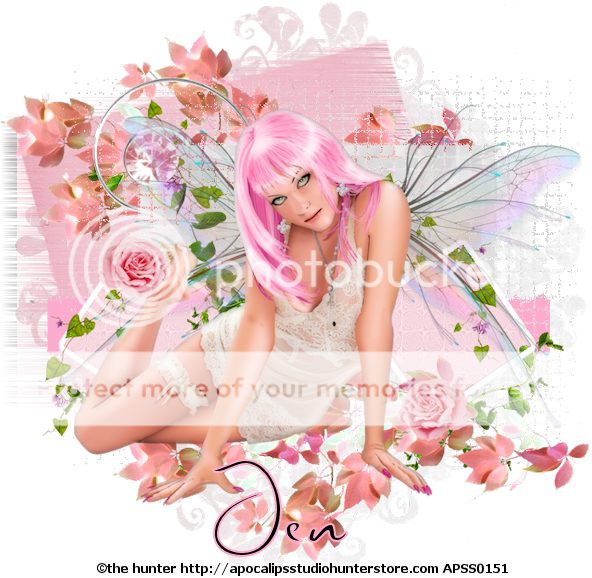
Spring - PTU
Scrapkit - Spring Romance Exclusive to TTL HERE
Template "Strutter" by Brutal Designs HERE
Mask - Moonbeams and spiderwebs mask #67 HERE
Tube - The Hunter - not sure where he is selling right now
~~~~~~~~~~~~~~~~~~~~~~~~~~~~~~~
Drop Shadow as you go along
Open template and delete copyright, word art, and both circle layers
Paste pp3 - apply mask, merge group, duplicate and merge down
Pink Rec - pp1
Effects - DSB Flux/blast/direction left/20%
Blk Ln - fill with a color from your tube
Effects - Tramages/Wee scratches/18/repeat again
Grey rec - pp5
Effects - Texture/antique mosaic at default
Dk grey sq left and right - pp4
Ele17 - place on canvas
Ele22 - resize 50% - erase as needed to make it look like it is clipped
Ele11 - resize 30% - place on canvas/duplicate/mirror and position
Ele10 - resize 20% - do the same as for ele11
Ele18 - image/free rotate right/90 and place - duplicate/image/flip and drag down as needed
Resize your tube as needed and place - I used Xero/porcelain on my tube
Crop/merge visible/resize/add proper copyright
Monday, March 7, 2016
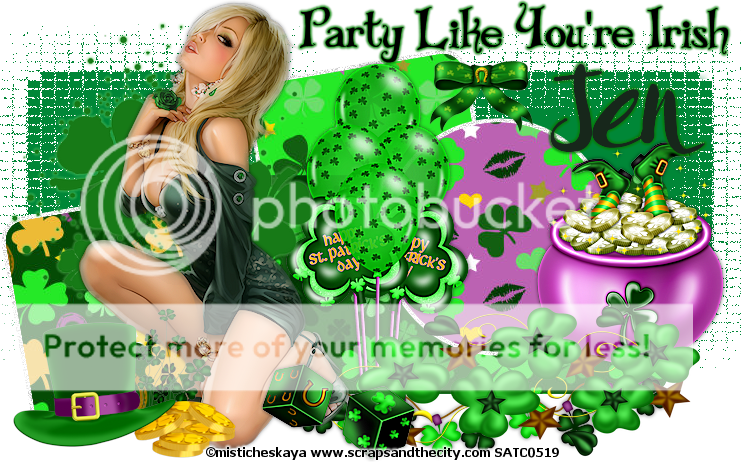
Lucky Babe - TTL Exclusive Kit
Template - HERE (I used the last template)
Tube - by Misticheskaya @ SATC...she sells at PFD now HERE
~~~~~~~~~~~~~~~~~~~~~~~~~~~~~
Open template and delete copyright and layer 3 - drag the word art to upper left and add thin gradient glow - d/s of your choice as you follow along
Merge layer 1 & 2 together
PSP Effect/texture/mosaic antique - default
Layer4 - pp7 and move a little to the left
Layer5 - pp9
Layer6 - pp10 - add a small border around layer 6
Selections/select all/float/modify/expand by 4/new raster layer and flood fill with color of choice
Now add a light "bright noise" - drag below your paper
Layer7 - pp 8 - add border as for layer 6
I went back and did the same to layer4
Click back at top
Doodle 1
Bow - resize 25%
Lights
Swirl
Hat&coins - resize 50%
Dice - resize 40%
Balloons - place behind doodle 1 - I erased some of the bottom...you do how you want
Pot o gold - 55%
Place your tube and position to your liking - merge all visible
Crop/resize as needed/add proper copyright and done :)
~~~~~~~~~~~~~~~~~~~~~~~~~~~~~
Tuesday, February 9, 2016
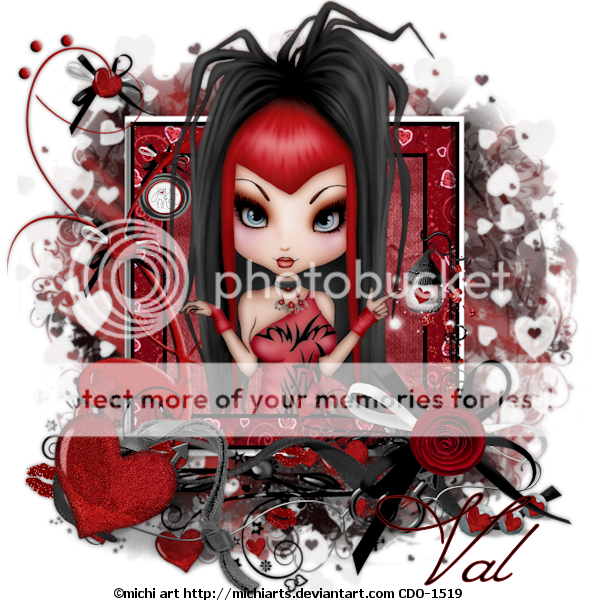
Dark Valentine - FTU
Mask - KK Heart1 - HERE
Tube - Michi at CDO HERE
~~~~~~~~~~~~~~~~~~~~~~~~~~~~~~~~~~~~~~~~~~~~~
Open paper21/apply mask/merge group/resize 90%
Paste frame2
Grab your magic wand (add/none) and click inside frame/selections/modify/expand by 15/ and paste pp5/invert/delete and drag below frame layer
Doodle2 - place at bottom of frame
Genderheartribbon - resize 75% and place
Gender wire - place
Doodle - resize 70% and place
Flower bow - place
Hanging heart - place
Place your tube and erase any hanging over the frame
Merge all visible/crop/resize as needed/add proper copyright
Tuesday, February 2, 2016
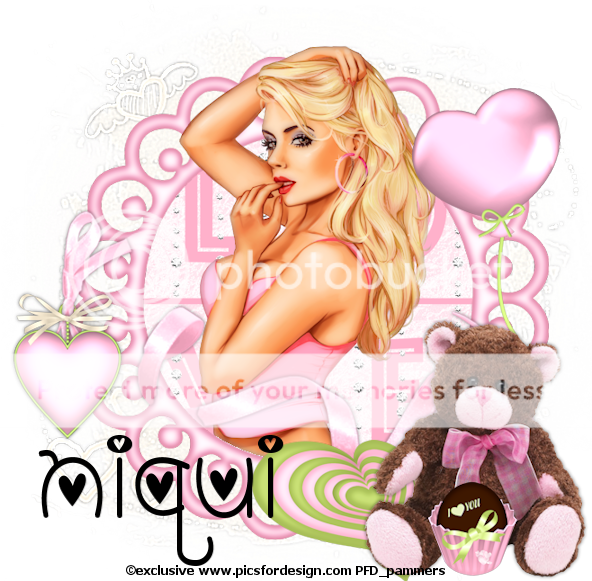
Valentine - FTU
Scrapkit - Niqui's blog - HERE
Mask - by Brutal Designs - HERE (I used the last mask)
Tube - Exclusive from PFD - HERE
~~~~~~~~~~~~~~~~~~~~~~~~~~~~~~~~~~~~~~~~~~~~~~~~~~
Open new image 700x700 transparent
Paste pp17 and apply mask/merge group/adjust/sharpness/sharpen more
Ele23 - resize by 70% and paste onto canvas
PP5 - resize 40% and place under frame and erase any outside the frame
Ele5 - paste onto canvas and erase any outside frame
Ele30 - resize 40% and paste as shown
Ele34 - resize 70% and place at bottom behind bear
Now, very carefully erase parts of the ribbon so it looks like it is going in and out the frame circles
Ele29 - resize 30% and place - carefully erase so looks like it is tied in with ribbon
Ele26 - resize 40% and place under bear
Ele22 - resize 50% and place behind bear
Ele8 - resize 20% and place
Now place your tube as desired
Merge visible/resize as needed/crop/add proper copyright
Monday, January 18, 2016
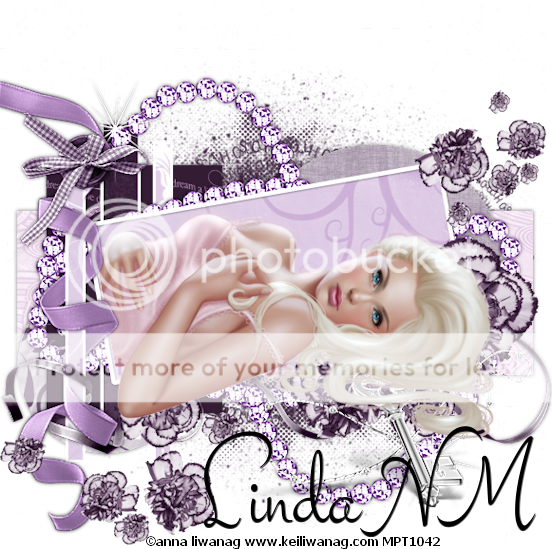
Elegant - FTU
Scrapkit - "Elegant" - HERE
Template by LindaNM - HERE
Tube - Anna Liwanag when she was with MPT - you can get her tubes at HERE
~~~~~~~~~~~~~~~~~~~~~~~~~~~~~~~~~~~~~~~~~~~~
Open template and delete all Christmas layers
I always work from bottom to top and ds as you go
PP5 - send to bottom apply mask of choice
Raster5 - pp4
Raster10 - pp2
Raster6 - pp1
Raster11 - pp6
Raster3 - pp5 - for this layer and next 2, you will have to use your magic wand. My settings are add/color/tolerance of 30
Raster4 & copy - pp3
Raster1 - pp7 - resized by 60%
Ele32 - place on top of mask layer
Ele31 - placed at top of template and erase just a little so it looks like it is wrapped around the template
Ele27 - resize by 80% - place on canvas
Image/free rotate/right by 70 - position as mine and erase so it looks like it is wrapped around the template
Ele24 - place and position
Ele5 - place on canvas and drag on top of raster6 - image/mirror/image/flip
Ele4 - resize 60%
Ele33 - resize 25%
Place your tube as you see fit
Crop/resize/add proper copyright
Friday, January 15, 2016
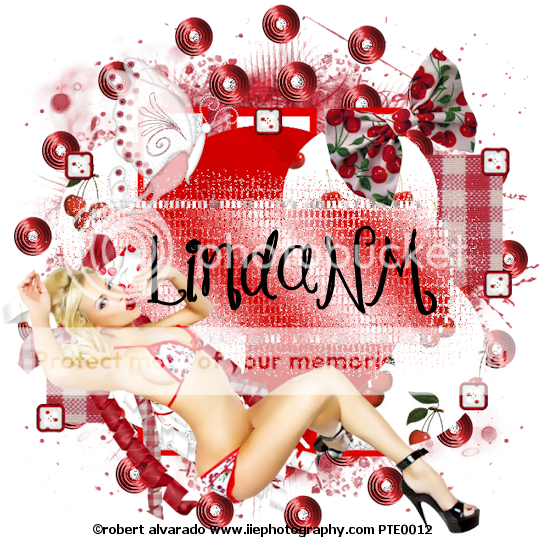
Cherries - FTU
Scrapkit - by IrishPrincess "Cherries & Cream" - HERE
Template by LindaNM - HERE
Tube - Robert Alvarado - I got this tube when he was with PTE and you can get his tubes at CDO - HERE
~~~~~~~~~~~~~~~~~~~~~~~~~~~~~~~~~~~~~~~~~~~~~~~~~~~~
Open template and delete the top 4 layers and Raster 5
Remember to add d/s as you go - your choice
Image/Canvas size/700x700
Starting at the bottom:
Raster 6 and copy, merge down and use PP16
Raster4 and copies - use PP9
Raster7 and copy - use PP1
Vector1 use PP12
Skip raster 8 & copy
Raster2 use PP10
Resize PP3 by 60%
Raster3 & copy use PP3
Raster2 - fill with a gradient of your choice
Effects/Texture/Mosaic antique with settings of:
Add PP15 and apply your mask of choice
Frame1
CorkerBow - resize 50%
Bow - resize 25%
Butterfly2 - resize 25% - image/mirror
SquareButton - resize 15% - position as you see fit
Place your tube
Merge all visible/Crop/resize as needed/add proper copyright
Tuesday, January 12, 2016
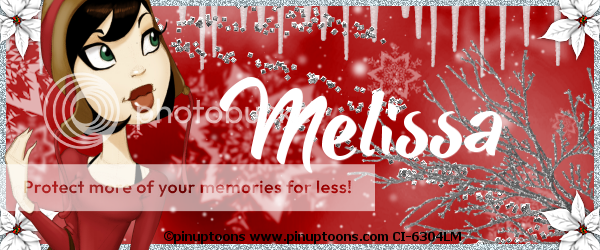
Red Winter - FTU
~~~~~~~~~~~~~~~~~~~~~~~~~~~~~~~~~~~~~~~~~~~~~
Scrapkit - Gothic Winter HERE
Mask - none
Template - none
Tube - Pinuptoons HERE
DS is your choice
Please remember to leave thanks when downloading
~~~~~~~~~~~~~~~~~~~~~~~~~~~~~~~~~~~~
~~~~~~~~~~~~~~~~~~~~~~~~~~~~~~~~~~~~
This is a forum type tag
Open new image 600x250
Open pp12 and resize by 89%
Paste into image
Ele10 - just place onto image
Ele3 - paste onto image and position at top so just the icicles are showing
Ele38 - just paste onto image
Ele32 - place in bottom right corner so just the branches are showing
Add new raster layer and flood fill with grey
Select all/select float/select modify - contract/by 6/hit delete on keyboard/select none
Add noise
Ele28 - resize 50% - place in each corner
Place your tube and position at left
Crop your tag/add proper copyright
~~~~~~~~~~~~~~~~~~~~~~~~~~~~~~~~~~~~
Tuesday, January 5, 2016
Serene - FTU
Scrapkit - "Winter Cuddles" and "Tinas Winter" by Pink Paradox - HERE & HERE
Template from Allison - HERE
Tube - Keith Garvey - HERE please use with proper copyright
~~~~~~~~~~~~~~~~~~~~~~~
Open template and delete copyright layer
Starting at the bottom:
Bottom and Upper Circle - pp18
Pink rect's - pp16
Black circles - pp10
Large circle - pp7
Ele50 - resize 73% - place bottom of circle
Ele61 - resize 25% and place over ends of ele50
Ele62- resize 30% and place as shown
Ele72 - resize 35% - place top left
Ele69 - resize 40% and drag below ele63
USING ELEMENTS FROM TINAS WINTER -
Ele61 - resize 30%
Ele68 - resize 45% - image flip - paste into position as shown - duplicate - image/mirror
Ele31 - resize 42%
Add your tube and erase any if needed
Crop/resize as needed/add copyright and merge visible
Subscribe to:
Posts (Atom)
